
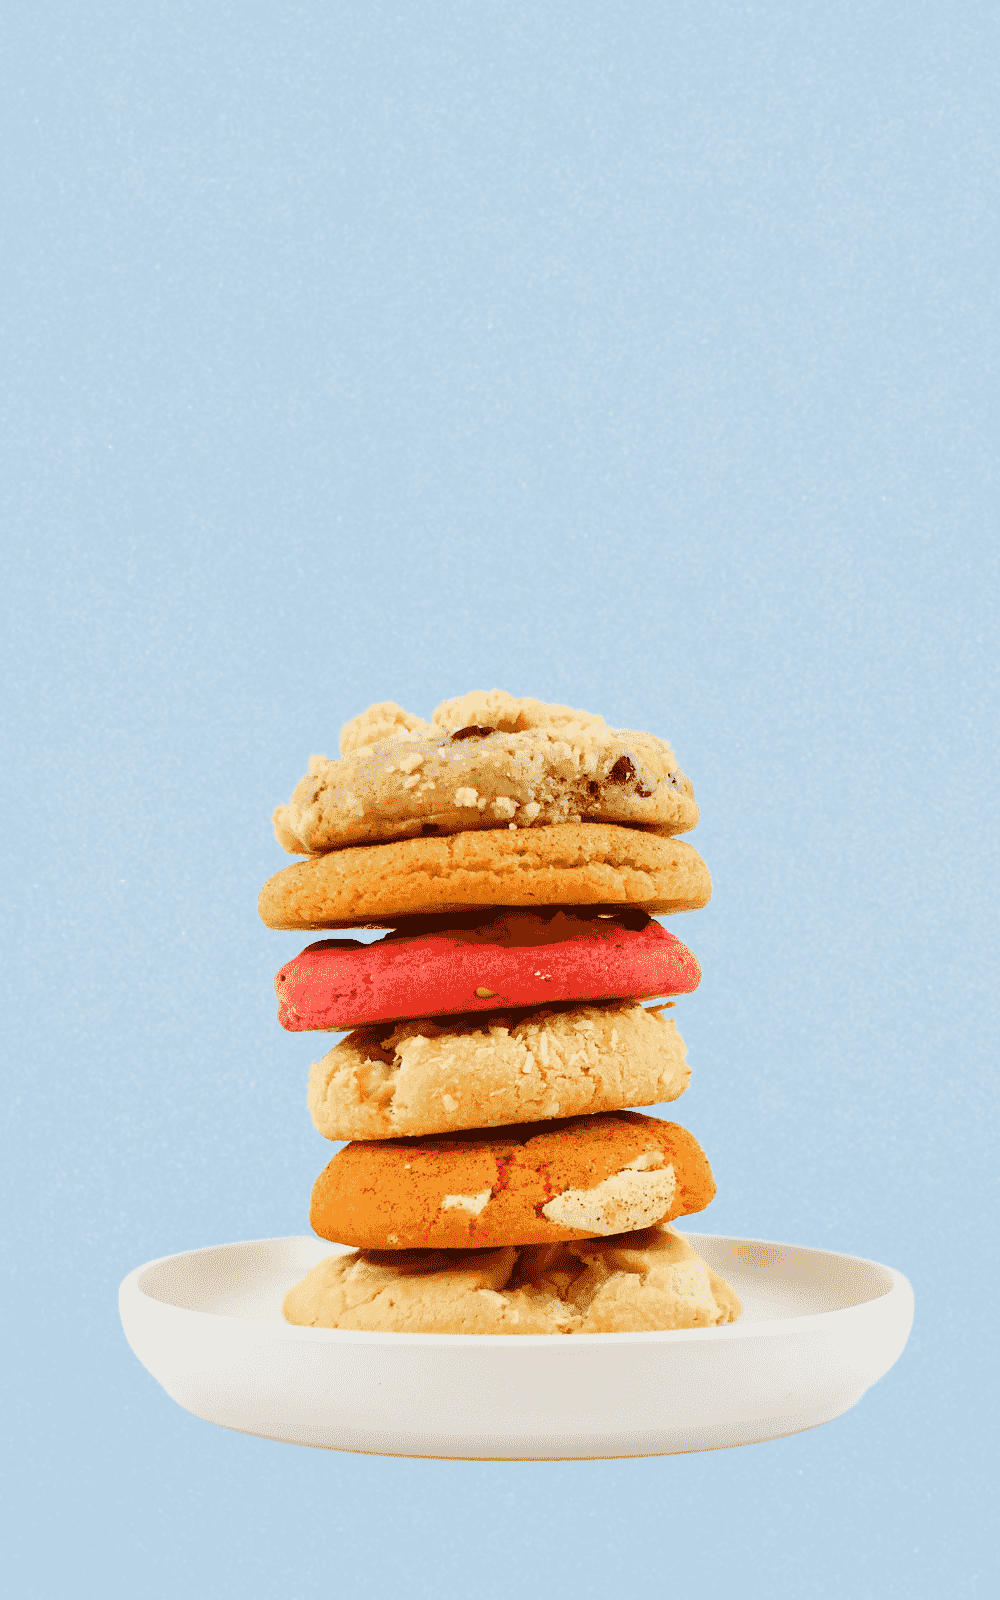
Decorating cookies is a delightful activity that can be enjoyed by anyone, regardless of age or skill level. Not only is it a fun way to spend time with loved ones, but it also allows you to unleash your creativity and create edible works of art.
In this article, we will guide you through the process of cookie decorating, from the necessary tools and materials to creative ideas and easy tips for beginners. You will be able to decorate cookies like a pro and impress your friends and family with your newfound skills!
Necessary Tools and Materials for Cookie Decorating
To decorate your cookies, you will need a few essential tools and materials. These include:
- Baking sheets
- Parchment paper
- Rolling pin
- Cookie cutters
- Mixing bowls
- Measuring cups and spoons
- Electric mixer
- Icing bags and tips
- Food coloring
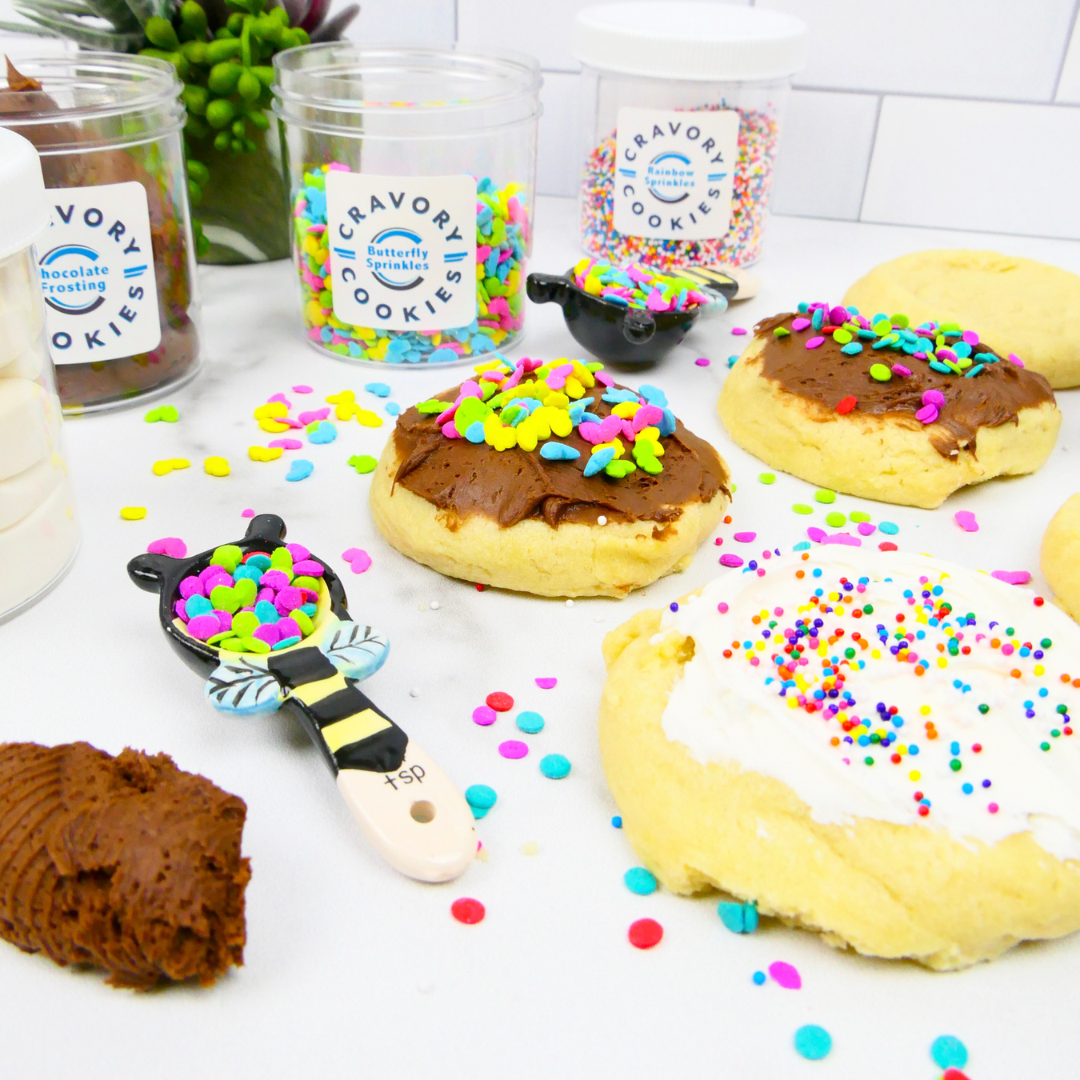
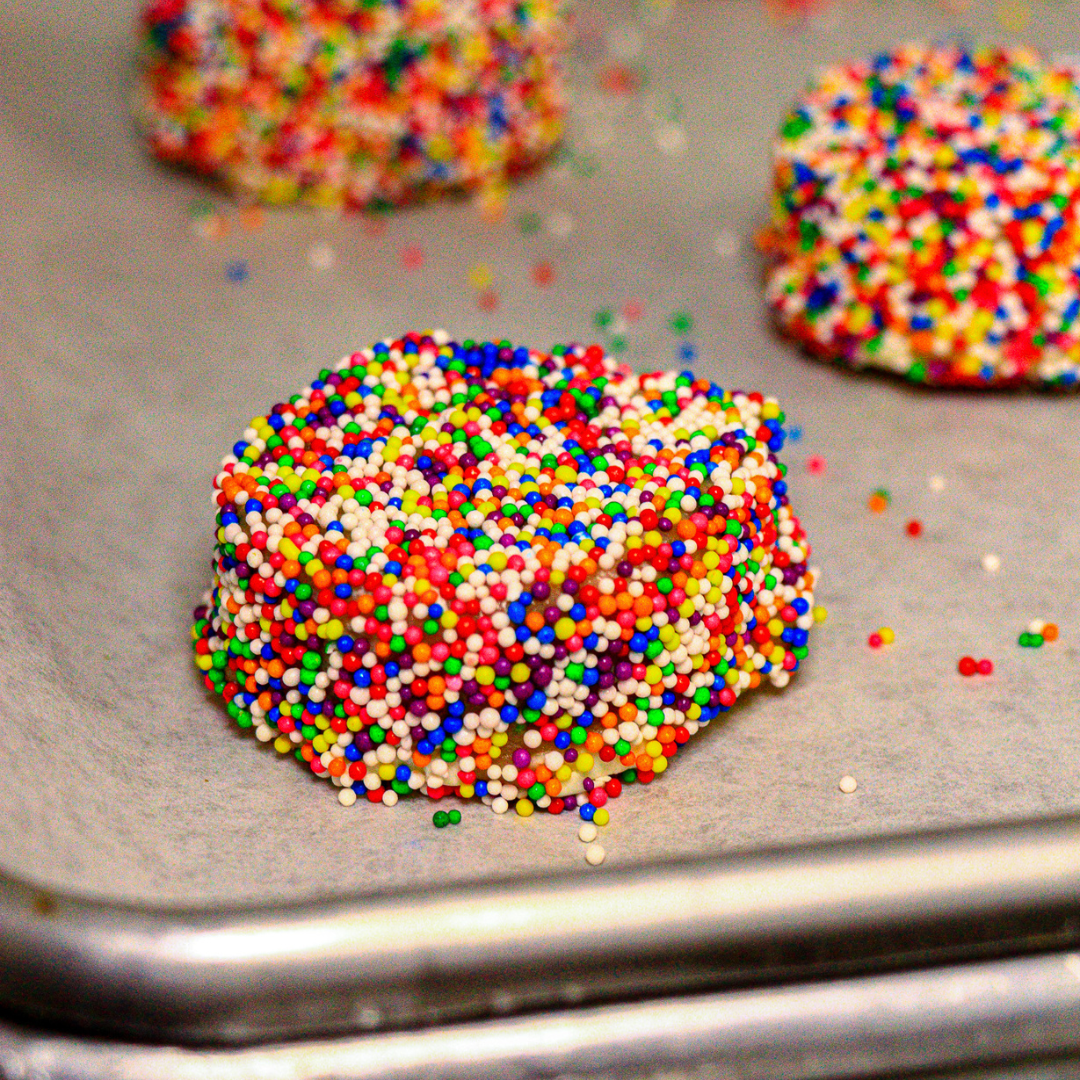
- Edible decorations (sprinkles, candies, etc.)
Having these tools and materials on hand will make the cookie-decorating process much easier and more enjoyable.

Tips for Preparing Your Icing
The icing is an essential part of cookie decorating, as it provides a canvas for your creativity. Here are some tips for preparing your icing:
- Royal icing is the most common type of icing used for cookie decorating. It consists of powdered sugar, meringue powder, and water, and dries hard and shiny.
- To make royal icing, sift 4 cups of powdered sugar and 3 tablespoons of meringue powder into a large mixing bowl. Add 1/2 cup of water and beat with an electric mixer until stiff peaks form. Add food coloring as desired.
- If the icing is too thick, add a few drops of water at a time until it reaches the desired consistency. If it is too thin, add more powdered sugar.
- Cover the icing with plastic wrap to prevent it from drying out while you work.
How to Decorate Cookies with Icing?
There are three main techniques for decorating cookies with icing: flooding, piping, and outlining.
Flooding
This technique involves filling in the entire surface of the cookie with icing. To flood a cookie, pipe a thick border of icing around the edge of the cookie and let it dry for a few minutes. Then, thin out the icing with a few drops of water and fill in the cookie with a spoon or squeeze bottle.
Piping
Piping is the art of creating intricate designs and patterns with icing. To pipe, fill an icing bag with your desired color and attach a small tip. Squeeze the bag to create lines, dots, and other shapes on the cookie.
Outlining
Outlining involves creating a border around the edge of the cookie with icing. To outline, fill an icing bag with a thick consistency icing and attach a small tip. Pipe a border around the edge of the cookie and let it dry for a few minutes before flooding or piping.

Add Texture and Detail to Your Cookies
To take your cookie decorating to the next level, you can add texture and detail to your baked goodies. Here are some techniques for you to try:
- Stenciling: Use a stencil to add a pattern to your cookies. Place the stencil over the cookie and spread icing over it with a spatula. Carefully remove the stencil and let the icing dry.
- Embossing: Embossing involves pressing a pattern into the surface of the cookie dough before baking. Use a textured rolling pin or cookie stamp to add a design to your cookies.
- Painting: Use food coloring and a small paintbrush to create intricate designs on your cookies.
Easy Cookie Decorating Tips for Beginners
If you're new to cookie decorating, don't worry! Here are some easy tips to help you get started:
- Start with simple designs. Begin with basic shapes and designs, such as hearts, stars, or circles, before moving on to more complex patterns.
- Use a toothpick. Use a toothpick to help spread and shape the icing, especially for small details or hard-to-reach areas.
- Take breaks. Decorating cookies can be time-consuming and tiring, so take breaks when needed to avoid becoming overwhelmed or frustrated.
- Practice makes perfect. Don't worry if your first attempts don't turn out perfectly. Keep practicing and experimenting with different techniques until you find what works best for you.

Cookie Decorating Mistakes to Avoid
Even experienced cookie decorators make mistakes from time to time. Here are some common mistakes to avoid:
- Don’t use too much icing. Using too much icing can cause the cookie to become soggy and the design to become blurry or messy.
- Let the icing dry. Letting the icing dry between layers is crucial for creating clean and defined designs. Rushing the process can cause the icing to blend together or smudge.
- Don’t overcomplicate the design. Sometimes, simple is better. Overcomplicating the design can make the cookie look cluttered or confusing.
The Bottom Line
Decorating cookies is a fun and rewarding activity that anyone can enjoy. With the right tools, techniques, and tips, you can create cookies that are as beautiful as they are delicious. Remember to start small, be patient, and have fun. Experiment with different designs and techniques until you find what works best for you. And don't forget to share your creations with friends and family – they're sure to be impressed. Happy decorating!
Cookie Decorating FAQs
How long does it take for the icing to dry?
It usually takes about 12-24 hours for the icing to dry completely, depending on the thickness and humidity.
Can I freeze decorated cookies?
Yes, you can freeze decorated cookies for up to three months. Let them thaw at room temperature before serving.
Can I use buttercream frosting instead of royal icing?
Yes, you can use buttercream frosting for cookie decorating, but it will not dry as hard as royal icing.
How do I store decorated cookies?
Store decorated cookies in an airtight container at room temperature for up to two weeks.
