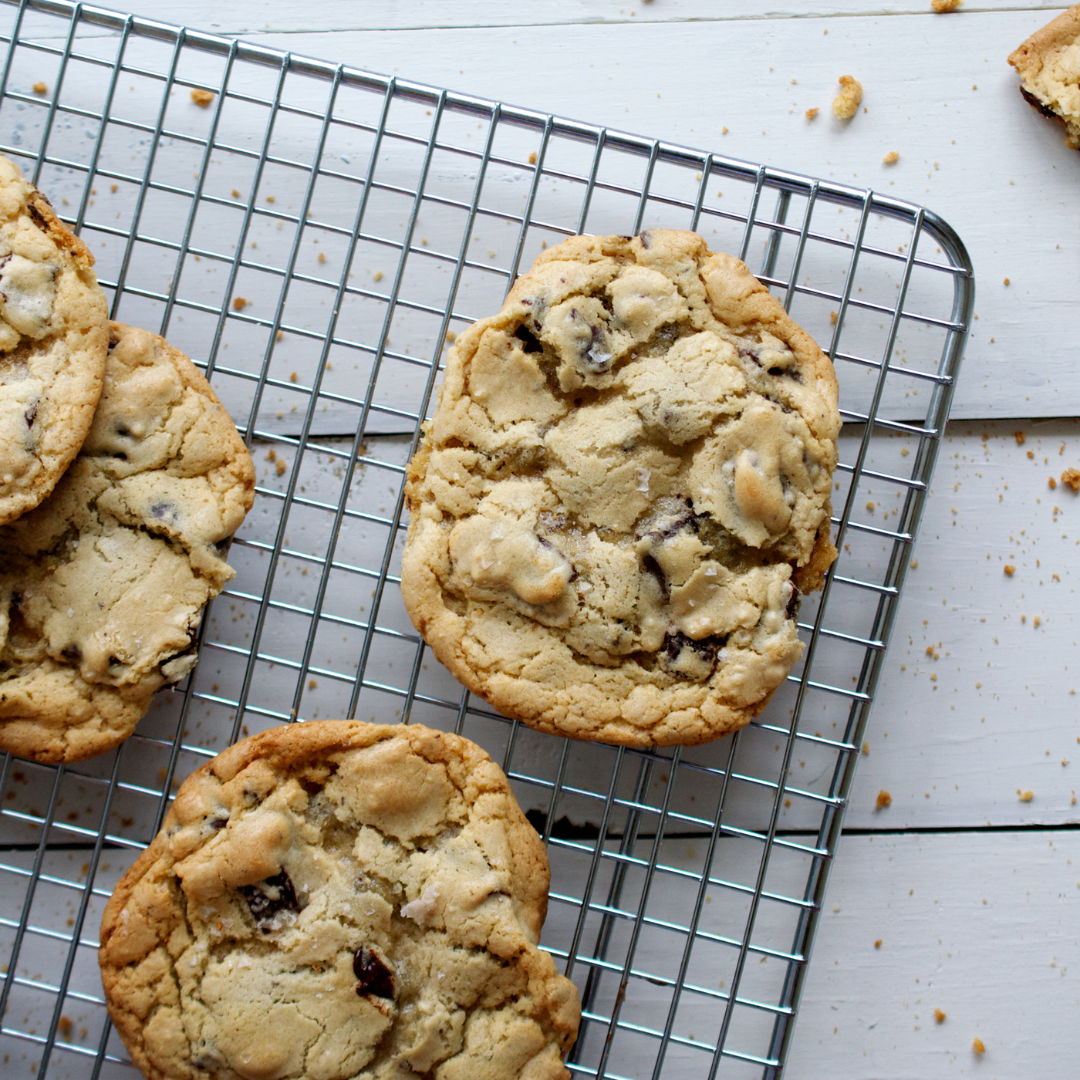
Here is a pretty incredible, if not strangely fascinating fun fact for you.
Did you know that the average American will gobble up 19,000 cookies in their lifetime? That's a massive amount of munching when you think about it!
They seem to have a statistic for everything these days, but this one caught our attention because the figure seems so huge, and we absolutely adore home-baked cookies (duh!)
The number becomes even more fascinating when we delve a little deeper. Apparently, 53% of the people polled in this survey declared that chocolate chips are their favorite.
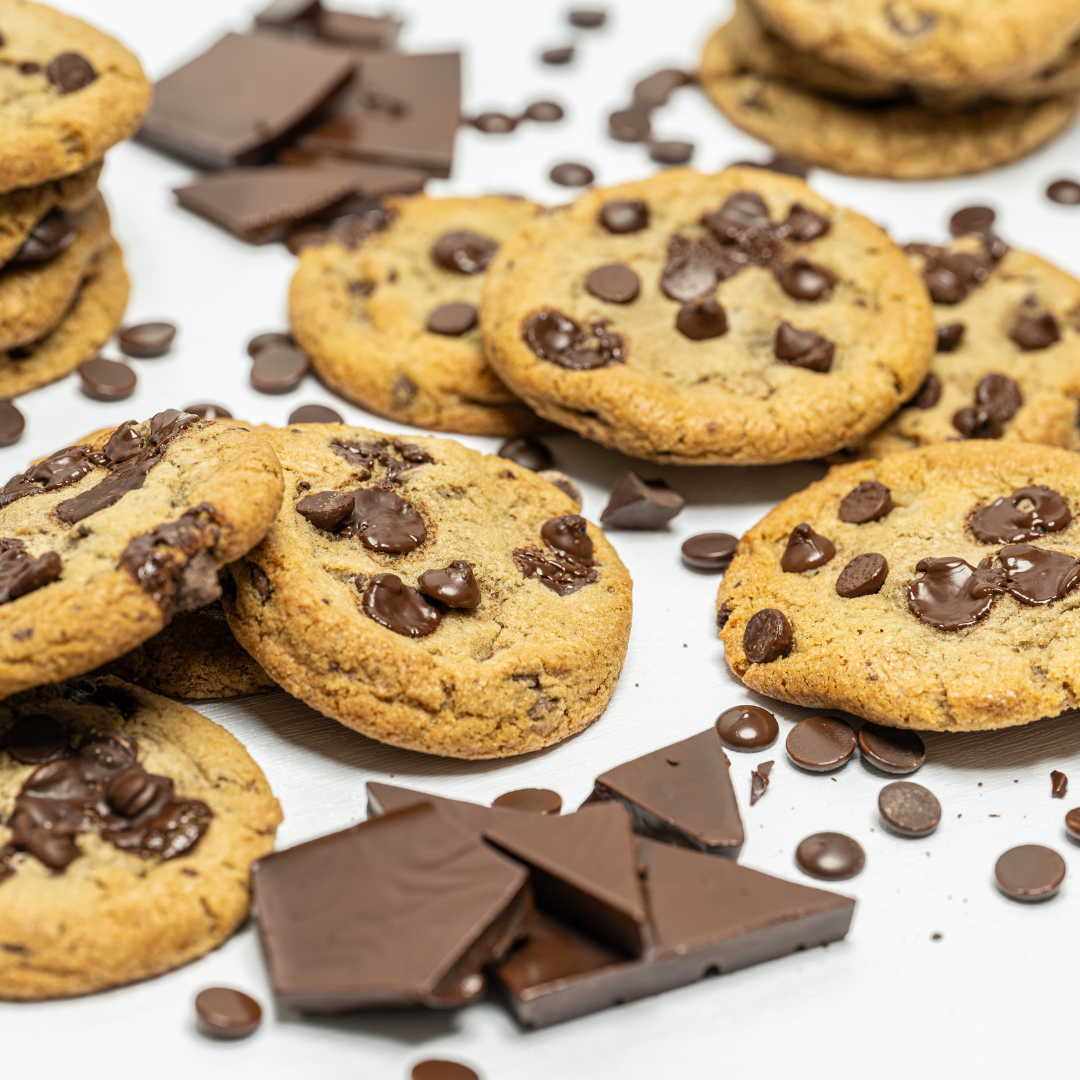
Putting two and two together and considering those stats, it is safe to assume that most of us, at least on average, will probably eat somewhere in the region of 10,000 delectable, gooey, comfort-oozing chocolate chip cookies in our lifetime.
To say we are fans of chocolate chip cookies would be an understatement.
And with good reason. Nothing quite hits the spot like a chocolate chip cookie. Every bite seems to tick all the right boxes for taste, texture, feel-good factor, and even kitchen aroma. We can't get enough of these things, and there is an interesting reason why that is.
Take a sneak peek back into American history, and there is a captivating, almost quite emotional reason why the chocolate chip cookie has become the classic that it is today.
This might surprise some of you, but this very American treat rose to popularity because of war, of all things.
Care Packages
There are various stories and anecdotes relating to the creation of chocolate chip cookies, but it is generally agreed among food historians that this specific type of cookie was invented to complement ice cream around the turn of the 20th century.
During the great depression, chocolate became quite difficult to find and was considered a huge treat. The following World War made it even more difficult to source the key ingredient for chocolate chip cookies. Because of this, a rather lovely trend took flight that spread throughout the states.
Families would send care packages to their loved ones fighting on distant European and Asian shores.
These care packages would contain photos, letters, newspaper clippings, and, just to show how special and loved they were - chocolate chip cookies. It was a way of showing they had gone to extreme efforts in finding this special treat.
As soon as the fighting was over and soldiers started returning home to America, they brought with them a newly acquired taste for cookies, specifically the chocolate chip kind. With the depression now over and the economy slowly returning to normal, chocolate became less difficult to source, and veterans had developed an affection for the small, flat, chocolatey treat.
This created a cookie boom that has only grown over the following decades and has led to the treat becoming an absolute mainstay American staple.
It's all rather heartwarming, isn't it?
Chocolate Chip Cookies are Everywhere!
And there you have it. Cookies of the choco-chip kind are now a much-loved classic and part of most families weekly shopping list.
But they are also great fun to make. Nothing beats the incredible aroma of freshly baked chocolate chip cookies and there is no better time to eat them than when they are freshly baked straight out of the oven.
If you are thinking of baking your chocolate chip cookies, the various recipes online are endless, with millions of search results for the recipe alone.
We have noticed something, though - there does not seem to be a constant theme for how to make chocolate chip cookies. The recipes vary slightly from source to source, with variations on the mixture, cooking time, and method.
The Classic American Recipe
We figured it was time for The Cravory to step in and get the basics right by putting together the original classic recipe for producing the best chocolate chip cookies you are ever likely to bake. This is a recipe that you can't go wrong with, and it should produce something akin to a ‘standard’ chocolate chip cookie.
But of course, it wouldn't be a true Cravory post unless there was an interesting angle. Whilst this is a standard, can't-go-wrong, classic chocolate chip cookie recipe, there is a twist. We have unearthed a recipe that speaks to its classic roots but adapted to incorporate a modern twist. You're going to love it - this one is special.
But first, let's go over a few key essentials you will need to knock out this fabulous recipe.
Equipment
Baking chocolate chip cookies is supposed to be a fun past-time and something not to be taken too seriously. If you don't have the exact equipment listed below, don't worry - you will be fine to cobble together something similar.
The whole point here is that you have a good time while producing something special as a result. If you have all of the suggested equipment, that's great.
The most important thing here is getting the ingredients right, and ensuring a near-perfect mix. We will get to that soon.

Equipment needed to bake chocolate chip cookies
For mixing the ingredients.
Either a lovely Kitchen Aid type-device or a good old wooden spoon. Either is fine, the important thing is getting a good mix, however, you achieve that.
For separating the lumps from the finer flour.
Achieve the correct amount of flour with a scale or cups.
Same as above - guessing will only lead to a poor mix.
A kitchen essential - you almost certainly have one.
Not essential, but helpful.
Crucial, to prevent the cookies from sticking to the tray and burning.
Same as above.
Or something similar and equivalent. Again, no need to jump on Amazon just yet. If you don't have one, just improvise!
Not quite essential, but the cooling stage is important, and a decent rack will help with that.
Classic American Recipe - With a Twist!
This classic recipe will result in a regular, standard, chocolate chip cookie - with an edge. There are a vast amount of variations to this recipe, often including unique ingredients and techniques.
With the chocolate chip cookie, however, we feel that you can't go wrong with the simple but delicious standard recipe that we all know and love.
It's a classic. People love this recipe. You can experiment with variations later down the line - for example, adding peanut butter or coconut to the mix or maybe trying different types of chocolate - but for now, let's focus on baking the tried and tested recipe, sure to impress even the harshest cookie critic!
While this recipe is based on the classic, there are one or two very slight additions to the preparation and ingredients that serve to enhance it, just slightly. So, it is indeed a classic chocolate chip cookie, but with just the slightest of adjustments that ensure the cookies are memorable and stand out as something special.
The secret is the refrigeration technique and the addition of sea salt. Yes, you read that correctly..sea salt! Trust us. This is the cookie recipe to judge all other cookie recipes by, and these special adjustments help to improve the classic American version.
Let's get to it, starting with the ingredients:
- 2 cups of cake flour
- 1 2/3 cups of bread flour
- 1 1/4 teaspoons of baking soda
- 1 1/2 teaspoons of baking powder
- 1 1/2 teaspoons salt (kosher)
- 2 1/2 sticks of unsalted butter at room temperature
- 1 1/4 cups of light brown sugar
- 1 cup plus 2 tablespoons of sugar (granulated)
- 2 large eggs
- 2 teaspoons of natural vanilla extract
- 1 1/4 pounds of bittersweet chocolate discs
- Sea salt
Step 1
Sift the two flours together, add baking soda, baking powder, then salt into a bowl. Set aside and leave it for a few minutes while you continue with the rest of the preparation. This will allow the mix to settle and infuse and generally come together nicely.
Step 2
Set up the mixer (preferably one fitted with a paddle) and begin mixing the butter and different sugars until light and fluffy. About five minutes should do the trick.
Next, add the eggs, one after the other, and ensure a solid mix with each addition. Grab your vanilla, and stir it into the mix.
Reduce speed to the lowest setting, then start adding the dry ingredients and mix until just about combined. Five to ten seconds should be about right here - just a cursory mix, don't worry too much about mix perfection at this stage.
Now, the fun bit starts by adding the chocolate pieces. Be careful not to break them while incorporating them into the mix (surprisingly quite easily done!) Next, mold the plastic wrap or clingfilm against the dough mix and refrigerate for 30 to 36 hours.
You can use the dough in batches if you like to make separate bakes. It is fine to refrigerate this mix for 72 hours, maximum.
Step 3
When you are ready to start baking, preheat the oven to 350 degrees. Grab a baking sheet and line it with a nonstick baking mat, or parchment paper.
Put your tray to one side - you will need it soon.
Step 4
Scoop out 6 x 3 1⁄2-ounces of dough mounds. Generally speaking, one mound is something similar in shape and size to a gold ball, or maybe a small egg.
Next, place these dough balls onto your prepared baking sheet.
Quick tip - make sure you turn flat any chocolate bits that are sticking upwards, as it will result in a more aesthetically pleasing cookie.
Now, sprinkle very lightly with sea salt. Be careful not to overdo it at this stage because there is a very fine line between over-seasoning and under-seasoning.
With the oven warm and ready, bake for 20 minutes. When complete, transfer to your cooling rack for 8 to 10 minutes.
It wouldn't hurt to place the cookies onto a second rack after ten minutes, just to ensure proper cooling. This process is important, allowing the bake to settle.
And there we have it. You can repeat the process with any dough you have remaining in the fridge over the next couple of days (remember, it's fine to refrigerate for up to 72 hours).
By the way, as already noted, the slight adjustment we mentioned is simply the addition of sea salt, together with a longer refrigeration time. While it doesn’t sound like much of an adjustment, seasoned home chefs will know that it’s the little things that make a difference to a recipe!
Store Them Safely!
The final thing you need to do is store them correctly. It would be a shame to see your cookie creations go stale and chewy after such a wonderful bake, but to avoid this you simply need an airtight container, or something similar.
Oh, and a great hiding place wouldn't be a bad idea!
Wrap Up
We hope you enjoyed reading this post and wish you nothing but huge success in your cookie creations. Remember to have fun, don't take it too seriously, and get those cookies cooking!


