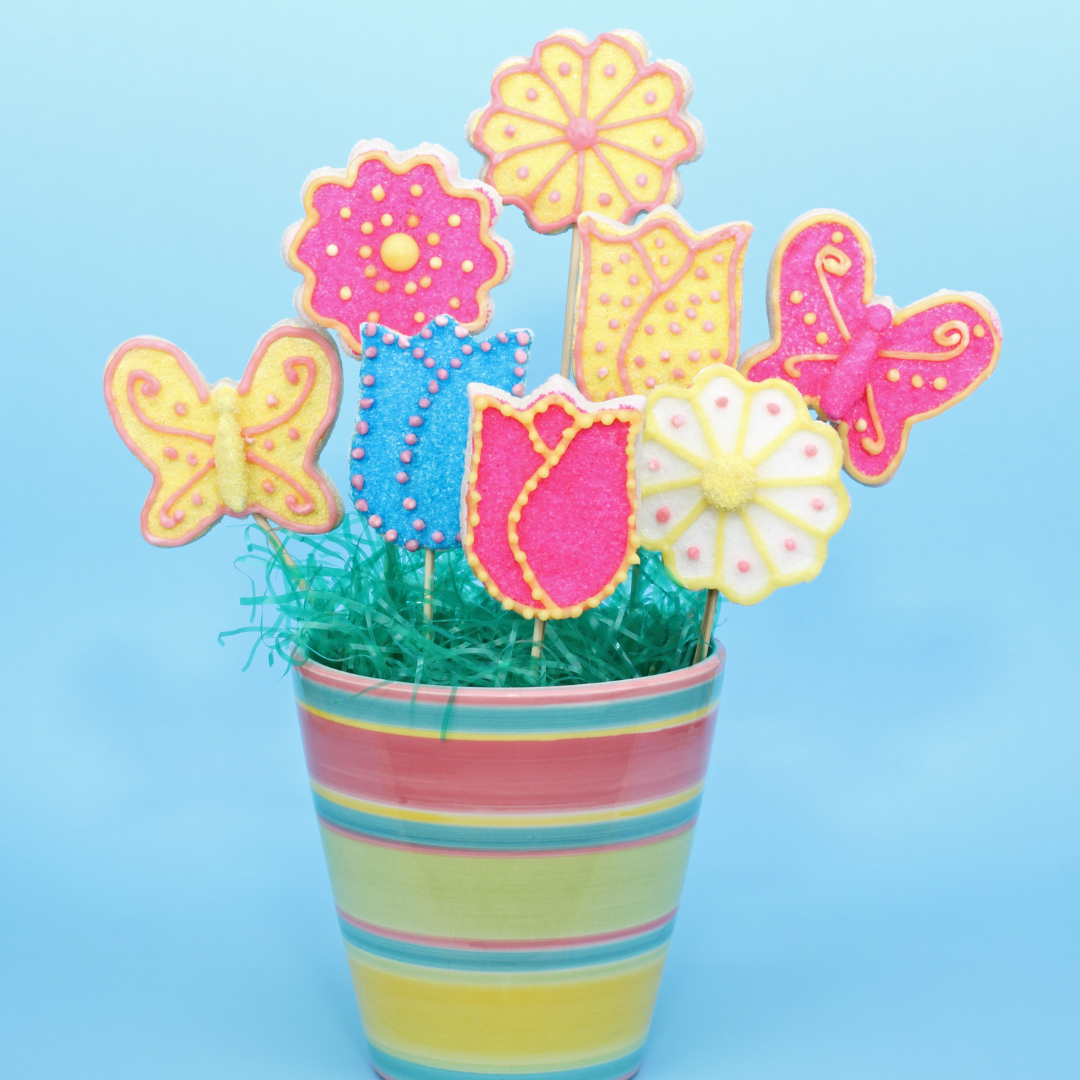
Making cookie bouquets is a fun and creative way to show someone you care. Whether it's for a birthday, anniversary, or just because, this sweet treat will surely bring a smile to anyone's face. And the best part? It's easy to do! All you need are some basic ingredients, a few simple tools, and a little bit of creativity.
In this guide, we will show you how to make the most unique and delicious cookie bouquets to surprise your loved ones in the most special way.
Gather Supplies for Your Cookie Flower Bouquet
To make a stunning cookie flower bouquet, you'll need the following supplies:
- Ingredients for sugar cookies
- Your choice of royal icing or buttercream frosting
- Decorative vase, flower pot or another container
- Florist foam block or disc sized to fit your container
- 6 to 12-inch cookie sticks (oven-safe options are best)
- Piping bags or bottles with round tips for icing
- Sprinkles, candies, and other decorations
- Assorted flower-shaped cookie cutters
- Greenery and/or tissue paper
- Clear cellophane, tissue paper, and ribbon for wrapping
If you're short on time, you can use store-bought sugar cookie dough and frosting. No one will know the difference!
Prepare the Cookie Dough
Select a sturdy sugar cookie recipe that won't spread too much when baked. This will ensure your cookies maintain their shape and can support the weight of the cookie stick. You can use your favorite recipe, such as this delicious homemade chocolate chip cookie recipe, or find one online that fits the bill.
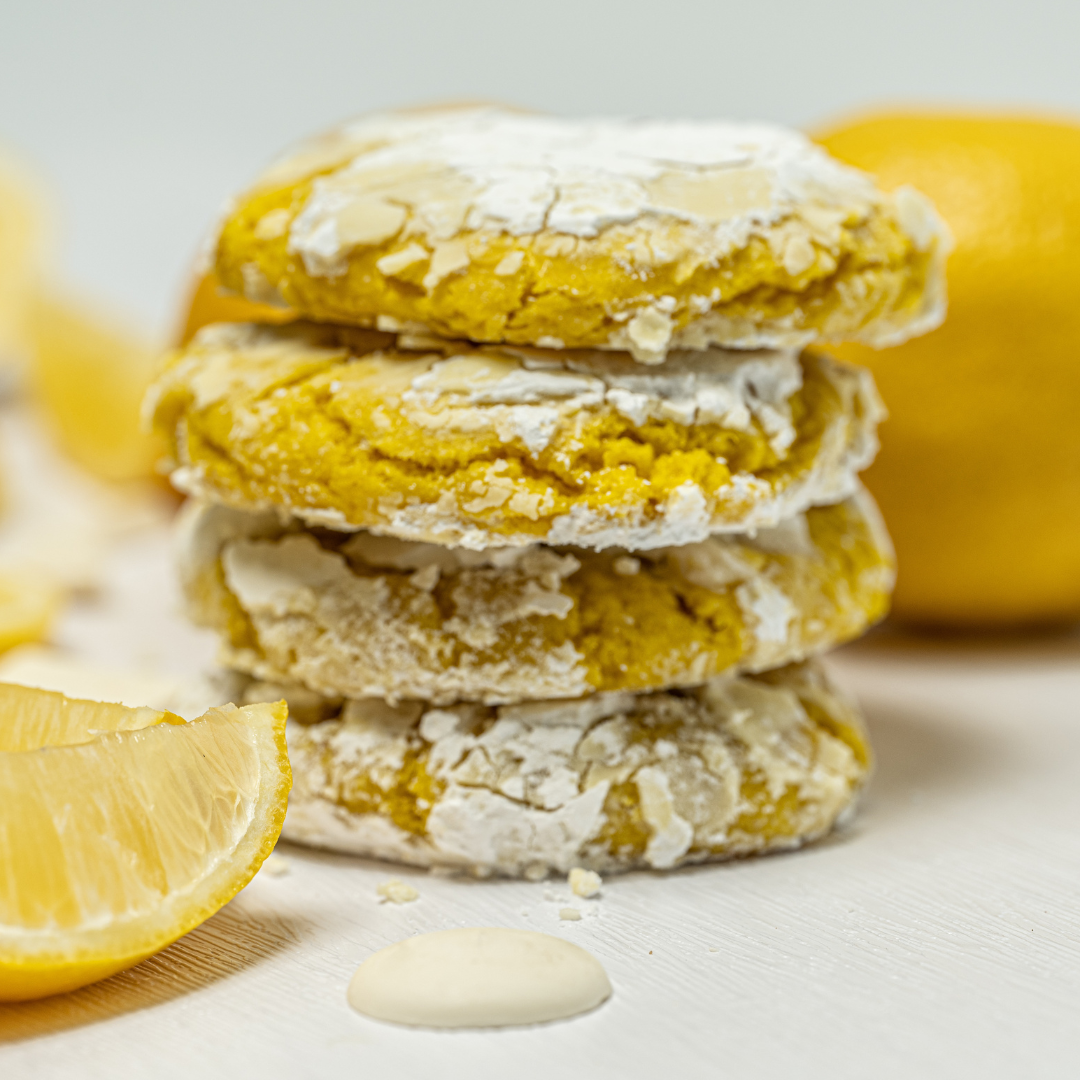
Add some pizzazz to your sugar cookie dough with a teaspoon of your favorite extract, such as vanilla, almond, coconut, or lemon. This will give your cookies a unique and delicious flavor.
Roll and Chill the Dough
Once the dough is mixed, divide it into two balls and roll each out on a lightly floured piece of parchment paper. Use a rolling pin to roll the dough to a little more than 1/4-inch thick.
Cover the sheets of dough gently with plastic wrap and transfer them to the fridge to chill for at least 1 to 2 hours, or overnight for best results.
Tip: Sandwich your dough between two lightly floured pieces of parchment paper when rolling it out. This prevents the dough from sticking to your rolling pin and makes transferring the dough to the fridge easier.
Cut and Bake the Cookies
Remove the chilled dough from the refrigerator and preheat your oven to 350°F (175°C). Line two or three baking sheets with parchment paper.
Use a selection of flower-shaped cookie cutters to cut out the chilled dough. For variety, include different sizes and styles of flowers, as well as a few butterfly or bumblebee shapes. Aim for cookie cutters that are at least 3 to 4 inches in diameter.
Arrange the cookie dough shapes on the prepared baking sheets and gently insert a cookie stick into the bottom of each cookie. Make sure the sticks are inserted deeply, almost to the center, for a secure hold.
Bake the cookies for 9 to 11 minutes, or until they are just barely golden on the edges. Remove them from the oven promptly and let them cool on the baking sheets for at least 5 minutes.
Cool the Cookies
Once the cookies have cooled on the baking sheets for at least 5 minutes, use a spatula to transfer them to a wire rack to cool completely. Be sure to lift the cookies by their base, not by the sticks, as the dough may still be soft and could tear.
Prepare the Icing
For a cookie flower bouquet, choose an icing that dries and sets firmly, such as royal icing or American buttercream. This will help your cookies hold up well when arranged in the bouquet.
Prepare your icing according to the recipe's instructions. Once it's mixed, divide it into smaller bowls and add a few drops of food coloring to each. This will give you a variety of colors to use when decorating your cookies.
Fill piping bags or bottles with your colored icing, fitted with round tips for easy decorating.
Decorate the Cookie Flowers
Use your piping bags or bottles to outline each cookie with a thin line of icing. Then, fill in the outline with a slightly thinner consistency of the same color icing. This technique is known as flooding and creates a smooth, professional finish.
Once the base layer of icing has set, use your piping bags or bottles to add details, such as flower petals, leaves, or patterns. You can also add sprinkles, candies, and other decorations to make your cookie flowers even more eye-catching.
Assemble the Cookie Flower Bouquet
Place a foam block or disc at the bottom of your chosen container. Make sure it fits snugly and won't shift or tip easily. If necessary, secure it with hot glue or adhesive squares.
Starting with the largest cookies, gently press the sticks into the foam, inserting them deeply enough to ensure they are secure. As you add more cookies, trim the lengths of the sticks to create varying heights, adding dimension and fullness to your bouquet.
Tip: Add weight and filler to your container with colorful glass beads, tissue paper, or greenery. This not only helps prevent the bouquet from tipping over but also enhances its appearance by hiding the foam and cookie sticks.
Wrap Your Cookie Flower Bouquet
For a polished look, wrap each cookie individually with a small piece of cellophane secured with a ribbon around the stick. This method is especially useful for gifting the bouquet to a group that may want to divide the cookies for later enjoyment.
Alternatively, you can use a large piece of clear cellophane gift wrap to encase the entire bouquet, securing it with a few colorful strands of ribbon at the top.
Cookie Flower Bouquet Ideas and Inspiration
Now that you know how to make a cookie flower bouquet, the possibilities are endless! Customize your bouquet to suit any occasion, such as:
- A red and pink color scheme for Valentine's Day
- A smaller arrangement of 3 to 5 cookies for Mother's Day
- A large bouquet with dozens of colorful cookies for Easter brunch
- A bouquet using specific colors or themes for birthdays, baby showers, and weddings
The Bottom Line
Making a cookie bouquet is a fun and creative way to showcase your baking skills and make a thoughtful gift for someone special. Don't be afraid to experiment with different cookie flavors and decorations – the possibilities are endless! With just a little bit of effort, you can create a beautiful and delicious masterpiece that will make anyone's day.


